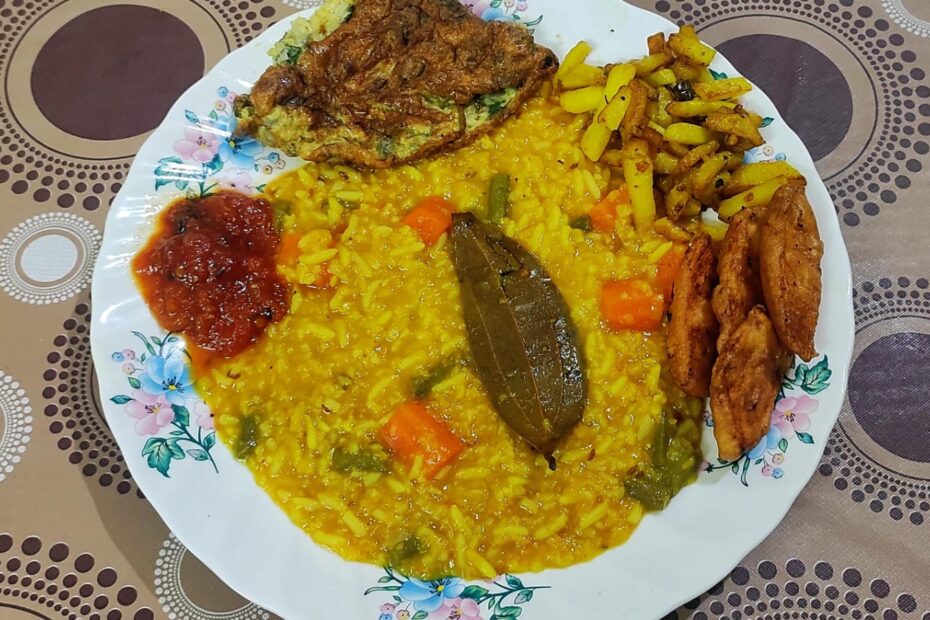

Khichuri is one of those dishes that can be made without any hassles and can be enjoyed any time with any side dish. This is the cuisine that we Bengalis have grown up eating especially during the rainy season with Ilish mach Bhaja, Bejuni, and Chutney.
The best thing about khichuri is you can make it mild, spicy, thick, or runny depending on your mood. You can even make it light and have it when you are not well. This comfort food is one of the most loved and considered by all Bengalis throughout the globe.
ADVERTISEMENT
The one-pot meal consists of rice, dal, veggies, and a few spices that result in a fragrant scrumptious dish. Kichuri always reminds me of home when I am outside traveling. It is kind of a king of all times, does not matter whether the day is good or bad.
Let us see how to make an authentic Bengali-style Khichuri and what ingredients are needed for the same.

Masoor Dal Khichuri Recipe (Bengali-Style)
Equipment
- 1 Induction Cooktop
- 1 Kadhai
- 1 Handi
Ingredients
- 1 cup Masoor Dal
- 1 cup Basmati rice or Gobindo Bhog rice/any rice that you use
- 1 Potatoes large
- 1 ½ cup Cauliflower florets 4-6 cm florets
- 1 cup Tomato
- 1 tbsp Ginger paste
- 3 Green Chilis
- ½ cup Green Peas
- 1 Carrot medium
- 5 Beans
- 1 Onion medium, optional
- 1 tsp Cumin seeds
- ½ tsp Cumin powder
- 4 Green Cardamon
- 3 Dried Red Chili
- 1 Bay leaf
- 3 Cloves
- 1 inch Cinnamon
- 1 tsp Turmeric powder
- 1-1 ½ tsp Red Chili Powder
- 1 tsp Garam Masala
- Salt to taste
- Sugar to taste
- Vegetable oil
- Mustard oil
- 1 tsp Ghee
Instructions
Prepare the rice
- First, rinse the Basmati Rice/Gobindo Bhog rice/ any other rice of your choice well.
- Then, spread the rice on a paper towel or kitchen tissue-covered plate and leave it in the air to dry completely.
Prepare the veggies
- Next, wash and peel the veggies really well and then start chopping. Cut the potatoes into 4 cm cubes, the cauliflower into around 5-6 cm florets, beans into 3-inch-long pieces, and carrots into 2-3-inch-long rectangular pieces.
- Then, chop the tomatoes into small chunks and the onions into 4-5 quarters (optional).
Roast the daal
- Now, take a kadhai and heat it on medium flame. Add in the Moong daal or Masoor daal.
- Dry roast the dal for around 5-7 minutes. Stir continuously and wait until you get a nutty fragrance and all the dal is roasted evenly.
- After this, transfer the dal to a bowl and wash it thoroughly but just once.
- Next, strain the dal well and keep it aside.
Fry the veggies
- Now, in the same kadhai add vegetable oil/mustard oil. Heat it until it smokes a little and then put in all the veggies.
- Fry them until they turn a bit soft and get a golden-brown hue to them.
- Add a bit of salt and stir then for a minute. Take them out in a bowl and keep them aside.
Stir the rice
- Now add some more oil if needed and add the rinsed and air-dried rice to the kadhai.
- Stir the rice consistently until it starts to turn glassy. Once you start to get a sweet fragrance of the rice give them one or two mixes and then transfer them on a plate. Keep them aside and move on to the next step.
Fry the spices and pastes
- Next, take a deep cooking pot or a steel handi pot and add some mustard oil. Heat the oil on medium flame till it smokes and put in the bay leaf (break it from the middle), dried red chilis, cinnamon stick, cumin seeds, and cardamom.
- Fry them well in the oil. Let them splatter and then you will get an aromatic fragrance. At this point add in the ginger paste, cumin powder, turmeric powder, and a bit of water (around 3 tbsp).
- Fry all the spices on medium flame until all the raw smell is gone. You will see that the oil is separating from the spices. This process takes around 6-8 minutes.
- Now, to the spice mix, add the tomatoes and onions (optional). Cover the pot with a lid and cook for about 3 minutes.
Add the rice and daal
- Next, give all the ingredients a stir and then add the fried rice, roasted Masoor or Moong dal, and 2 chilis (split them from between).
- Combine them with the masala and then let them cook for 2-3 minutes.
- Then, add around 1½ liters of hot water and salt to taste. Stir them well, cover the pot with a lid, and let them come to a boil.
- Allow them to boil for around 5-6 minutes and make sure that the flame is on low.
Add the veggies
- In the pot, now, add in the veggies. Mix them all again and cover them.
- Let this cook for 15 minutes more. in between check how much the rice is cooked.
Cook the Khichuri
- Stir the contents occasionally for a good distribution of the ingredients throughout the khichuri.
- After 15 minutes of cooking, put sugar to taste (do not make the khichuri too sweet; sugar is to enhance the flavor) and the rest of the green chilis (you can split them from the middle if you want to). Stir all the things well twice or thrice and cook them for 5 minutes more.
- Check if everything is cooked well. Add if salt is needed otherwise start with the garnishing.
- Turn off the heat and garnish the prepared khichuri with ghee and Garam masala powder.
- Cover the pot for 5 minutes and allow all the flavors to infuse into the dish.
ADVERTISEMENT
The simple yet yummy and authentic Khichuri is ready to be served. Pair it with hot Beguni, Aloo Bhaja, Chutney, and papad, and enjoy its flavors.
The fragrance will take you over along with the outpouring textures and tangs. Does not matter when you make it, all you have to do is relish and share the luscious food with one and all.
Enjoy!
Affiliate Disclaimer: Some of the links provided in the recipe are affiliate links. This means when you buy anything using those links, you help support this website at no extra cost.
Find more Recipes
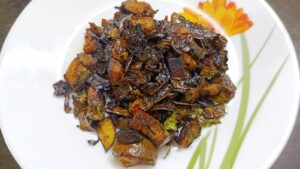
- Neem Begun Recipe | How To Make Neem Leaves & Brinjal Stir Fry
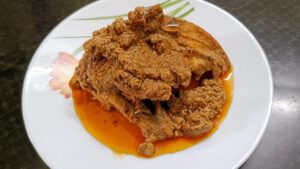
- Chicken Chaap Recipe | How To Make Chicken Chaap At Home
- Simple Vanilla Sponge Cake Recipe In OTG (With Eggs)

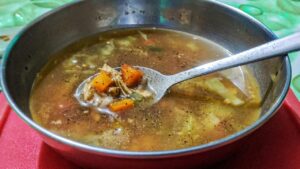
- Chicken Soup Recipe | How To Make Indian-Style Clear Chicken Soup
- Paneer Pakora Recipe | How To Make Paneer Pakoda At Home

- Koraishutir Kochuri Recipe | How To Make Motor Sutir (Peas) Kachori