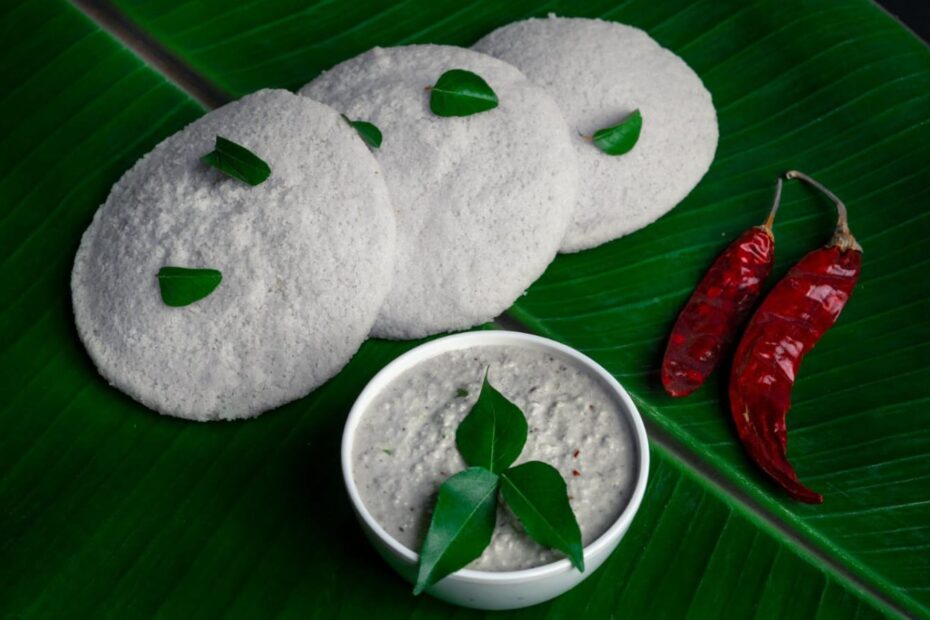

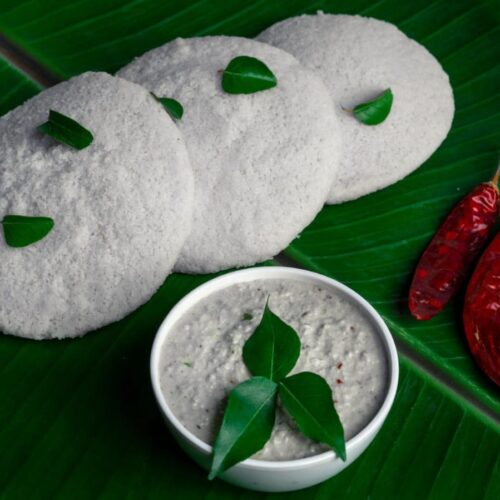
A lot of us are fond of Idli and whenever we visit any South Indian restaurant, we prefer to order this dish. Almost all of us know that this is a South Indian dish, but its origin was actually from a different place. It came from Indonesia and originated mostly during the 7th and 12th centuries.
The soft and fluffy idli tastes divine. Also, it is light and wholesome. It is a good option for protein and many other nutrients. The process of making is unique and this enhances the amount of nutrients in the dish.
ADVERTISEMENT
Make this at home and eat up to your heart’s content. The making can be a bit tricky to master, but once you start to prepare it, it will be fine. Go on, wear your apron, and get started with the recipe. You will be impressed after the dish is done.
Let’s go through the ingredient list and the procedure to make it.
Idli Recipe (South Indian Style at home)
Equipment
- 1 Idli Steamer
Ingredients
- ½ cup Urad Dal or husked Black Gram
- 1 cup Parboiled Rice or Idli rice
- 2 tbsp Poha or flattened rice, thick
- ½ tsp Fenugreek seeds or Methi seeds
- Rock salt or Sea salt, to taste
- Water
- Vegetable oil
Instructions
Soak the Lentil and Rice
- First, rinse the urad dal and the parboil rice well.
- Next, take a bowl and soak the urad dal and methi seeds in an adequate amount of water for about 6-7 hours.
- Take another bowl and soak the rice in water for about 6-7 hours.
- Before an hour of blending, wash the poha well and then soak it in water.
- Cover and let it rest for about an hour.
Prepare the Batter
- Strain the lentils, rice, and poha.
- Next, take a blender and transfer the urad dal, methi, and ¾ cup of the strained water of the urad dal.
- Blend them into a fine and smooth batter. Add a bit of water if needed. We don’t want the mixture to be extremely thick.
- Transfer them into a bowl and keep them aside.
- Next, transfer the parboiled rice or idli rice along with the poha into the blender.
- Add ¾ cup of strained water into the blender and blend the rice into a smooth batter.
- Now, take a large mixing bowl and transfer the rice batter into it.
- To this, add the dal batter and combine well.
- Fold in and mix from all the sides and the bottom so that they blend in well. It is better if you mix them with your clean hands.
- The consistency should be thick but pourable.
- Cover the mixing bowl and let the batter rest for at least 8-10 hours. This will ferment the batter which will be perfect to make idli.
Prepare the Idli
- After the resting time, the batter will rise and will become almost double its amount.
- Remove the cover and stir the battle nicely.
- Add rock salt to taste and combine again. Stir it for a minute or so and keep aside, covered.
Steam the idli
- Take a steamer and add an adequate amount of water.
- Put it on flame and let the water come to a boil. Keep the flame on medium.
- In the meantime, grease the idli molds with vegetable oil.
- When the water comes to a boil, pour the batter on every mold and place the mold into the steamer.
- Cover and steam the batter for 10-15 minutes.
- After 10 minutes, remove the cover and check if the idli is done by poking the middle with a wooden skewer or a fork.
- Cook them if not cooked otherwise transfer them to a plate.
- Repeat the process with the leftover batter.
Garnish
- Sprinkle a bit of red chili powder or idli podi (if available) on the Idlis as a garnish.
ADVERTISEMENT
Ta-daa! The soft, white Idlis are prepared and are ready to be eaten.
Serve it with sambar and coconut chutney. The spongy texture soaks up all the flavors of the chutney and the sambar and creates an explosion of flavors in the mouth.
Prepare it and enjoy every bite you take in.
Happy Cooking!
Affiliate Disclaimer: Some of the links provided in the recipe are affiliate links. This means when you buy anything using those links, you help support this website at no extra cost.
Find more Recipes
- Neem Begun Recipe | How To Make Neem Leaves & Brinjal Stir Fry
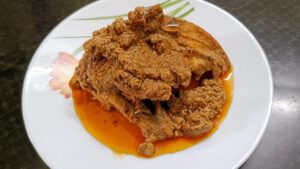
- Chicken Chaap Recipe | How To Make Chicken Chaap At Home
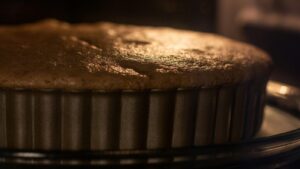
- Simple Vanilla Sponge Cake Recipe In OTG (With Eggs)
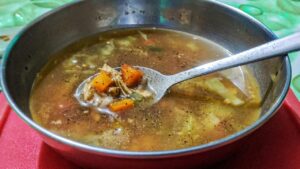
- Chicken Soup Recipe | How To Make Indian-Style Clear Chicken Soup
- Paneer Pakora Recipe | How To Make Paneer Pakoda At Home

- Koraishutir Kochuri Recipe | How To Make Motor Sutir (Peas) Kachori